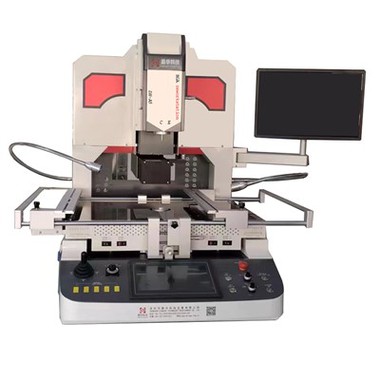
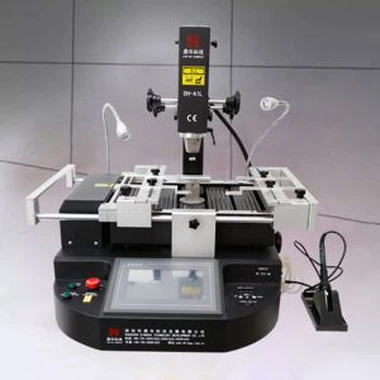
PCB Xray Machine
Dinghua PCB Xray machine DH-X7 is a high-precision testing system used to inspect the internal structure of electronic components and assemblies without causing any damage. It uses X-ray imaging technology to penetrate materials and create detailed internal images, allowing operators to see hidden defects that are invisible to the naked eye.
Description
Products Description
Dinghua PCB Xray machine DH-X7 is a high-precision automated X-ray inspection machine used to inspect the internal structure of electronic components and assemblies without causing any damage. It uses X-ray imaging technology to penetrate materials and create detailed internal images, allowing operators to see hidden defects that are invisible to the naked eye.


Products specification
|
Whole machine status
|
||||
|
Dimension
|
1100*1200*2100mm
|
|
Power supply
|
AC220V 10A
|
|
Weight
|
Appro 1200kg
|
Gross weight
|
About 1300kg
|
|
|
Packing
|
1300*1400*2200mm
|
Rated power
|
1000w
|
|
|
Open way
|
Manually
|
Inspection
|
Off-line
|
|
|
Uploading
|
Labor
|
Authorization
|
Password
|
|
|
Xray tube
|
||||
|
Type
|
Sealed
|
|
Current
|
200uA
|
|
Voltage
|
90KV
|
Focal spot size
|
5um
|
|
|
Cooling
|
Wind
|
Geometry magnification
|
300times
|
|
|
Industrial computer
|
||||
|
Display
|
24-inch HD monitor
|
|
Operation system
|
Windows10 64bits
|
|
Operation method
|
kryboard/mouse
|
Hard disk/memory
|
1TB/8G
|
|
Products Application
The inspection capabilities of SMT X-ray inspection equipment:
1. Advanced Semiconductor & Component Level Inspection
Beyond basic visibility, SMT X-ray inspection equipment are critical for identifying internal structural integrity in high-density components.
BGA, CSP, and Flip-Chip: Detailed analysis of solder ball diameter, circularity, and placement. Detecting "Head-in-Pillow" (HiP) defects and internal bridging.
QFN/QFP and Fine-Pitch Leads: Inspection of "toe" and "heel" fillets and detecting solder splashing under the component body.
Wafer-Level Packaging (WLP): Identification of micro-cracks, TSV (Through-Silicon Via) integrity, and bumping defects.
Die Attach & Encapsulation: Assessing the uniformity of epoxy/adhesive layers and detecting delamination or air bubbles in TPU and plastic encapsulations.
2. Electromechanical & Passive Component Analysis
X-ray allows for the inspection of internal "blind" features that optical systems cannot reach.
Sensors & MEMS: Verifying the alignment of internal diaphragms, moving parts, and micro-mirrors without breaching the hermetic seal.
Capacitors & Resistors: Detecting internal dielectric layers, electrode alignment, and termination integrity in MLCCs.
Fuses & Heater Wires: Inspection of the continuity and gauge of internal elements to prevent "open circuit" failures in thermal management systems.
Optical Fiber & Probes: Ensuring precise core alignment and detecting micro-fractures in the cladding or connector ferrules.
3. High-Precision Interconnects & Welding
X-ray is the gold standard for non-destructive testing (NDT) of metal-to-metal bonds.
Metal Weldments & Solder Joints: Measuring penetration depth, porosity, and structural fusion in critical mechanical joints.
Wire Bonding: Detecting "sweep" (deformation of gold/aluminum wires) during the molding process and verifying bond pad contact.
Probe & Connector Pins: Checking for pin deformation, plating thickness consistency, and seating depth in high-density connectors.
4. Quality Control & Traceability Features
Modern AXI (Automated X-ray Inspection) systems integrate data processing with imaging.
Volumetric Voiding Calculation: Automated calculation of voiding percentages against IPC standards to ensure thermal and electrical conductivity.
Dimensional Metrology (Metal Height): Precise Z-axis measurement for component height, solder paste volume, and heat sink standoff.
Automated Traceability (QR/Barcode): Integrated scanners link X-ray inspection images directly to the serial number of the PCBA for 100% data traceability.


Products package
1, Standard Export Wooden cases;
2, Delivery in 2 workdays after payment confirm;
3, Fast delivery options include FedEx, DHL, UPS etc , or by air or by sea;
4, Loading port: Shenzhen or Hongkong.
If you have any further questions or require assistance, please do not hesitate to contact us. We would be more than happy to help you!


