


PCB Soldering Robot Automatic
The PCB soldering robot automatic is a revolutionary development in the field of electronics manufacturing. This advanced technology offers a highly efficient and accurate method for soldering printed circuit boards, which greatly benefits the electronics industry
Description
PCB Soldering Robot Automatic
One of the major advantages of the PCB soldering robot is its ability to automate the soldering process.
This means that the robot can perform the task without the assistance of human operators, which leads to
significant time savings and reduces the risk of errors. The robot’s accuracy also ensures that the soldering
joints are consistent and of high quality, resulting in products that are reliable and durable.

1.Models for PCB Soldering Robot Automatic
A. Single (double) head, single (double) station,(R axis)
B. Other customized designs are available. Welcome to contact us.
2.Features for PCB Soldering Robot Automatic

3.Application of PCB Soldering Robot Automatic
Widely used in Communication industry, Optoelectronics industry,Appliance industry,Automotive industry,etc.
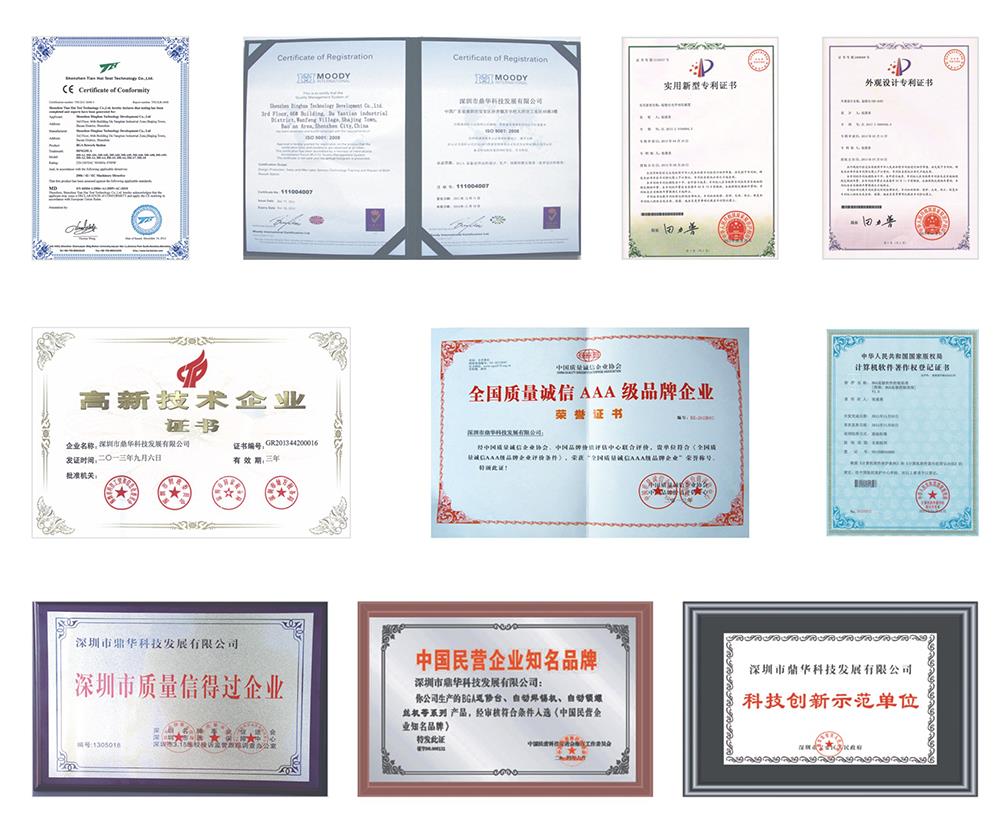
5.Certificate of PCB Soldering Robot Automatic

Wamly welcome business parters from all over the world. Welcome to contact us!
6.FAQ
1. How will you pack the automatic PCB soldering robot?
A: The robot will be packed in strong and stable wooden cases, which is suitable for export and long-distance
international shipment.
2. What kind of warranty you can offer?
A: We can offer the best warranty in the industry. 2-year warranty is offered.
3.Do you offer training for automatic PCB soldering robot?
A:Yes. We offer lifetime technical support. If you need any help in the future, please feel free to contact us.
7. Related knowledge
1) Prepare for welding
Prepare the solder wire and soldering iron to prepare for soldering.
(2) Heating weldment
Touch the soldering iron to the solder joint. Be careful to keep the soldering iron heating parts (such as the leads
and pads on the printed board) heated, and then pay attention to the flat part (larger part) of the soldering iron
head to contact the solder with larger heat capacity. The side or edge portion of the tip is in contact with a weld
having a smaller heat capacity to keep the weld evenly heated.
(3) Melting solder
After the weldment is heated to a temperature at which the solder can be melted, the wire is placed at the weld
and the solder begins to melt and wet the weld.
(4) remove the solder
After melting a certain amount of solder, the solder wire is removed.
(5) Remove the soldering iron
Remove the soldering iron after the solder has completely wetted the solder joint. Note that the direction of the
soldering iron should be approximately 45°.
For workpieces with low heat capacity, it can be simplified to a two-step operation: prepare the solder, put the
soldering iron and solder wire, remove the solder wire and remove the soldering iron.


